Friday, December 7, 2012

Doe a deer, a reindeer -- gender non specific


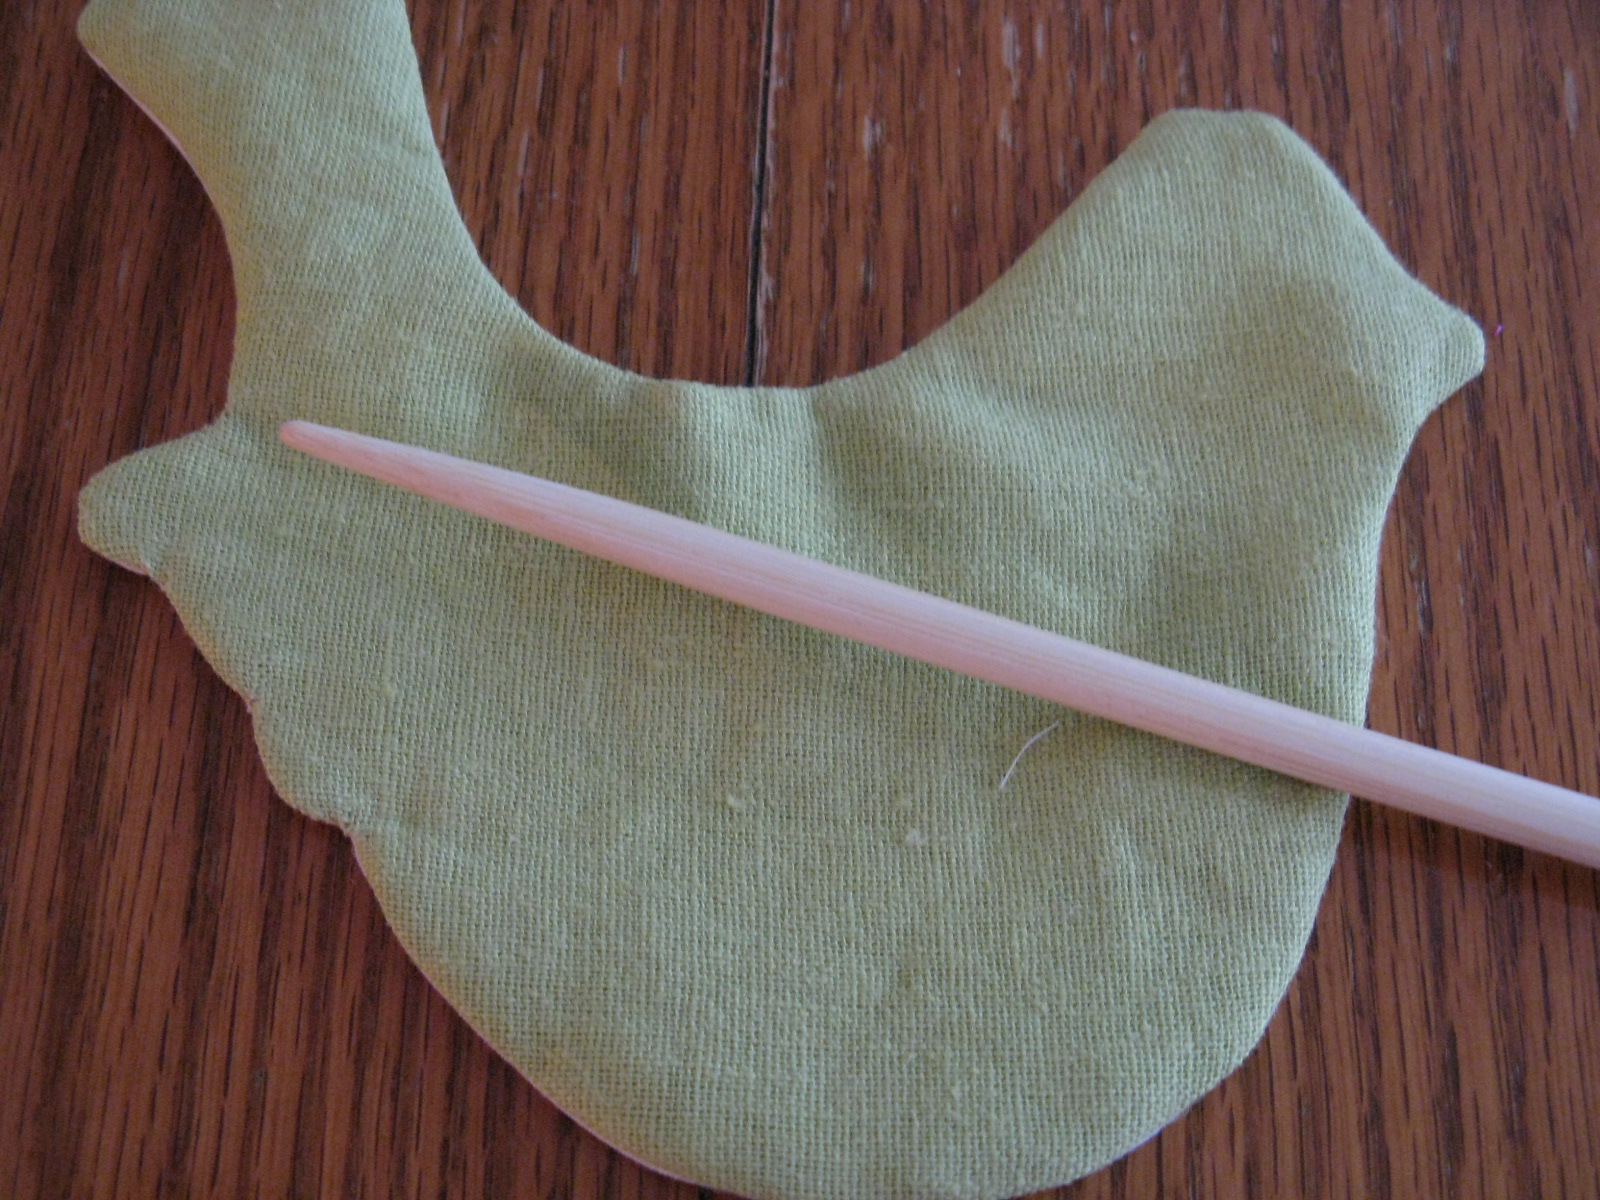
This deer nearly drove me crazy, but now that it is finished, I love it. It stands on its own, but only if you successfully stuff the legs properly, and then attach them properly on the body. Being a Tilda pattern, the location for the legs is not marked on the body pattern piece. I have no idea why -- not telling us doesn't make it easier to pull something like this off -- just saying. One is largely left to one's own devices.
For me, this means pinning, repinning, pinning again -- and not in the fun Pintrest way. More like in the,"Why won't this flippin' deer stand on its own?" kind of way..
It was too wet today to go and get some cuttings from our shrubs to make antlers, but I will add them when conditions dry out enough.
I have been working on a number of Christmas gifts this week, so I can't post photos. However, once they are given, I will post pictures.
Hope everyone is enjoying these days leading up to Christmas!

Monday, November 26, 2012

It is beginning to look a lot like Christmas...

This is the bit of last year's Christmas tree.
Here is today's festive fun! I decorated the little bit of last year's Christmas tree.
When you have a real tree, you make a fresh cut to the trunk when you get it home, then you put the tree into a bucket of warm water which has tree preservative added to it. It really helps to keep the tree fresh before you wrestle it into the stand.
I used texture mediums to create the ground cover. The mercury glass beads on the large bottle brush tree are from the 1950s. The trees are new from Michaels, as is the little deer. The mushrooms were acquired years ago at a closing out sale of a large gift ware company here in Canada. I have hung on to a little box of 10 mushroom stems for ages. Now, three of them have found a home.
When this is fully dry, it will be displayed in a bell jar.

Sunday, November 25, 2012

Little bitty baby quilt

Rainbow in the clouds quilt
I haven't been to a baby shower for ages!
Well, now that my eldest has entered her mid-20s, the baby showers are back in the picture.
This is a little stroller/carriage sized quilt for a little girl who is due to arrive in early February.
This is small size was perfect for finishing with little details like the hand appliqued clouds and rain drops, the swirly curly cues in the clouds and the outline quilting around the raindrops.
Doing the rainbow sections was a fun trip through my stash. And the sky blue was discovered on a trip to the Keswick ON Fabricland with Sandra. It was perfect and $3 per meter so I got enough for backing as well.
I was really pleased with the way it turned out, and the mamma to be liked it very much.
The idea for the quilt came from the book All Sewn Up by Chloe Owens.
I bought the book for the projects, not the fabrics used. There is an extensive use of "vintage" sheets. Or as I call them, sheets (the ones that I used to sleep under before I myself became vintage.)
Now, maybe I am just a cranky old broad with no sense of style, but every time I see vintage sheets in a project, I am reminded of hanging out four sets of bedding every Saturday morning on our family's clothesline. This had to be done PERFECTLY, with no wrinkles -- and to my mother's satisfaction, using three pegs per sheet -- two pegs either end and one in the middle. She was quite specific about it. I have no idea why. I never did. Frankly, I didn't care. This task was virtually impossible for me to do correctly -- and I wanted to be doing ANYTHING else on a fine, fair Saturday. Every time I see a sheet from the 1970s, it reminds me of the task.
Nope, I much prefer to use the beautiful cottons currently available.
I also wanted to share a photo of a Tilda sewing kit I made for Leanne in Australia. She has also blogged about our swap, and has some lovely images about Spring, which is nice to see in the midst of our impending winter.
This week in vintage shopping, I dropped a donation off at the thrift store.
Well, I was there, wasn't I? Naturally, I had a tour around.
I found some bottle brush Christmas trees (dearly love them) and more old buttons -- love, love, love  old buttons! Once I have sorted them, I will post a shot of the booty.

Tuesday, November 13, 2012

Swapping the love!

Stitching envelope by Leanne
The great thing about stitching, creating and writing about it all is "meeting" up with like-minded folks from all over the world.
Teacup dolly 1
I am very lucky to have the opportunity to chat almost every day with a lot of really lovely people, most of whom I have never actually met, but I am getting to know through our shared love of creating.
Recently, Leanne of Lizzie the Quilter fame, wrote asking if I would like to do a swap focused on our shared love of Tilda by Tone Finnanger.
We mulled over what we could swap, based on the fact that postal rates in Canada and Australia are both insane and -- dare I say -- usurious. We settled on something that was fairly flat, and from any of our favourite Tilda books.
Teacup dolly 2
I settled on the retro-inspired sewing kit from the recent Tilda's Spring Ideas book. Fortunately, it was not only flat, but also lightweight.Leanne sent me a lovely sewing envelope bag which is made from Tilda fabric inside and out. It is so nice to have this lovely bag to stash my stitching projects when I am on the go.
Thank you so much, Leanne! I will think of you doing your stitching on the other end of the world, while I am doing mine here, all because of the pretty envelope bag you made just for me.
In other news, the snow has started to sprinkle down from the heavens here. That can mean only one thing: time for the menfolk to make the ice rink frame
It was ridiculously warm on Sunday, so the boys were out framing the ice palace pad in preparation for the arrival of the giant plastic liner. After that, it's the start of the flooding and the thrill of the freeze.
As for me, I am staying inside, near the sewing machine, to make some little teacup dollies for Christmas gifts. They are but the first in long list of makes. How does Santa do it?
Framing the rink, 2012
Oh yeah, I gotta get me some elves....
Have a wonderful day everyone, and remember to share the love that comes from creating.

Friday, November 2, 2012

In just 147 days... the newest Tilda book!

Oooo, this will be worth the wait!
Look what I just pre-ordered from The Book Depository. Yep, that is the new Tilda book. It is called Fairy Tale Wonderland, but there's a lot of Christmas-y type projects in it.
The fact is that the book has been out in Europe since this past September, but in Norwegian. I can't believe how long it has taken to publish the English version, but then again, I have a feeling the company involved isn't really aware of how global the Tilda fan base has become. It is really the only explanation for delaying the book's English publication until AFTER the Christmas buying and crafting season. But, better late than never!
The book features characters from several well known fairy tales like The Steadfast Tin Soldier and The Princess and the Pea. There are also cute teacup angels, a teapot pincushion, the sweetest little standing deer, and Pinocchio.
The fabrics used in the projects are also new. The palette has a vintage feel, full of soft blues, muted greys and greens.
Even before I saw the book, I ordered a few of the fabrics from my favourite webshop, lovetilda.nl
The site is in Dutch, however, Google Translate is a great resource to help work out how to order. In addition, Rian, the webshop owner, could not be more helpful when it comes to helping her customers find their Tilda heart's desire. Not long ago, she offered some of the scraps she had left over from doing her own Tilda projects. These scrap bags gave me a chance to use a wider range of Tilda fabrics for small projects like covered buttons or the little flowers featured in the Spring Ideas book. And, for reasons I don't completely understand, I just really love scraps. Tilda scraps? What could be better?
Okay, this is going to be a long 147 days...being a Tilda fan involves developing a lot of patience.

Thursday, November 1, 2012

At present, I am working on presents

Lavender berries
I have been making gifts for people lately.
First, I made a jar filled with lavender berries. My daughter completed her first practical teaching assignment, and wanted to give the associate teacher a thank you gift.
She loves these strawberries, and she has commissioned several sets of these over the last few months for gifts. Her teaching associate loved the gift.
These strawberries are filled with some of my lavender and a drop of lavender essential oil. They are sealed in a mason jar, which I converted into a pincushion. The fragrance fills the room when you open the jar.
The tag is an idea acquired from the nana company. I just love this blog and the very sweet ideas presented there.
I even taught myself how to set an eyelet. I was going to brazen it out with a hammer, and the setting tool provided in the package of eyelets, but Michaels had a 50 per cent off coupon in their e-mail coupons last week. I splashed out on an eyelet setting tool, can also be used to set snaps and rhinestones. This is a tool I will be using a lot. I can see me making more of these tags. I loved the look of the whole package once it was put together.
I printed a computer tag and attached it to the back of the tag. I then attached the whole label to the jar with baker's twine.
Cute bug!
The second gift I worked on this week is a present for my dear friend who has a birthday next week. She loves to garden, and I will be putting a flower pot together filled with some treats and this little bug, which is from the book Tilda's Spring Ideas. She was leafing through the book a while bag and said she loved him. I made a mental note, and using some real Tilda fabric from an ebay seller in the UK, I made him for her.
Now that I am in gift mode, I guess the time has come to start cracking on with the Christmas presents. At least, this is what all the incessant television ads tell us.
What are you working on this coming weekend?


Thursday, October 18, 2012

A tutorial not only for the birds...


Sew around the shape

Take your time
The CreativFestival was so much fun, and I enjoyed meeting the many people who stopped by our booth.
There was a lot of interest in how I did the bird applique, so I decided to do a little show and tell tutorial for a cheater way to do needle turn applique. This is a fun way to do applique. The finished result has finished edges and is slightly padded, adding texture to your project.

You will need a scrap of linen, scrap of muslin, thread, a sewing machine, a chopstick, and fine tipped sewing scissors.
Clip notches all around the shape
Cut a cross slit into the muslin
Press the shape
Smooth the seams

Step one: place linen and muslin together, right sides facing each other. Trace your shape onto the fabric. Remember that whatever you trace will be reversed. Shapes can come from anywhere, but chunky ones work best. You and trace around a cardboard template as I did with the bird, or even cookie cutters. (That would be a fun way to do gingerbread people.) Pin the fabric together, within the traced shape.
Step two: sew around the shape using a very fine straight stitch length. Go slowly, and use the hand wheel now and then to go smoothly around the curves. Take your time. If you have a clear embroidery foot for your machine, this step is a lot easier.
Step three: Cut out the shape, leaving a 1/4 inch seam allowance all the way around.
Step four: Clip notches all the way around the shape, taking care not to clip into the stitching.

Step five: cut a cross into the muslin.
Step six: turn the shape through the opening in the muslin. Smooth the seams and ease out the curves using a chop stick or something similar. Roll the seams between your thumb and forefinger. Gently wiggle the seams back and forth to make sure all the clips and curves are smooth and rounded.
Step seven: Press the shape with steam on.
Now, your shape is ready to applique to your project.
Applique by hand:
Place the main fabric in an embroidery hoop and ensure it is drum tight. Pin the applique onto the fabric.
To do the applique, use an applique needle, which is slightly shorter than an regular sewing needle. If you can find it, use a fine silk thread, which tends to resist knotting. It is really nice to work with for many hand sewing projects. It is about $2-$3 more than a spool of polyester blend thread.
Pin your shape to the fabric. Pick up just a bit of the shape's edge and sink the needle into the main fabric, trying not to pull too tightly. Continue stitching, just catching the edges, all the way around the shape.
This technique is so much fun, and it can be used to personalize all kinds of projects. You can also add embroidery, buttons and beads to embellish your work.