For the past couple of months, I have been struggling through the process of trying to find out why I sometimes ache all over. Many things were neglected during scans, x-rays and examinations, not the least of which was my blog. But, I am back.
 Turns out I have arthritis everywhere. This comes as quite a comfort, really. I was starting to think it was all in my head, and fingers, and toes, and elbows and knees.... well, you get the picture.
 In addition to medication and a serious attempt to lose tonnage, I am also doing salt water Aquafit. This is a 45-minute work out in a 91 degree therapy pool. So far, I am a fan. It is a great workout, and miracle of miracles, nothing hurts at all as I exercise. Sadly, 45 minutes flies by, I have to get out of the pool.
To keep myself away from the kitchen and the snacks that lurk there, I am spending a lot of time in my sewing room.
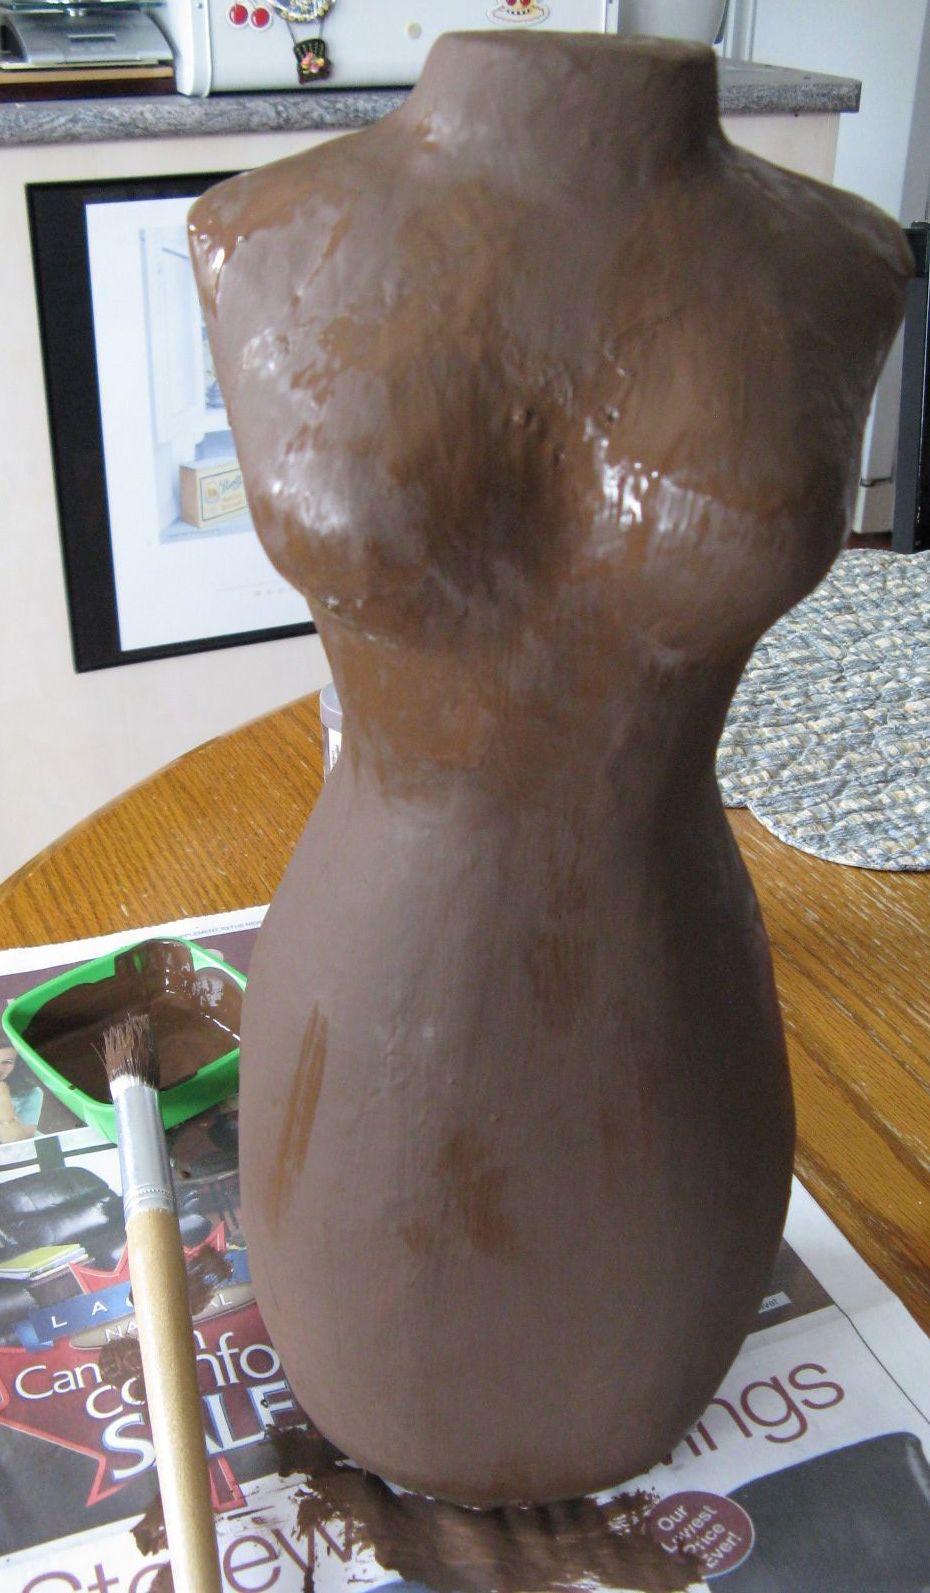
Recently, I rehabilitated another dress form, found at Value Village for less than $10. This one is going to be used to hang up my sewing scissors, seam ripper and retractable tape measure.
 In its former life, the dress form was dressed in leopard print velvet and red sequins. The effect was regrettable. I could see something better.
I stripped the hideous fabric velvet fabric off the form and replaced it with some linen. I stamped an image on the front and then made a skirt from some green linen leaves. I used some tea dyed crocheted lace from an old pillow case to make the over skirt. The felt roses were just plain fun to do. I cut out a wavy circle of felt and then cut out a wavy spiral patten through to the centre of the circle. Then, I rolled up the spiral, starting at the centre, and secured the rolls using small dots of hot glue. This process proved kind of addictive, and before I knew it, I had made more than 15 roses! I used some pearls and a little charm to further embellish my notions holder.
The neckline sports not only a felt rose, but also some tiny millinery flowers and a crystal heart.
I was kind of sad when I finished this form, but I have many things to get ready for the upcoming CreativFestival in three weeks' time in Toronto. More on that later.
In the meantime, have a wonderful, creative week!
 Turns out I have arthritis everywhere. This comes as quite a comfort, really. I was starting to think it was all in my head, and fingers, and toes, and elbows and knees.... well, you get the picture.
 In addition to medication and a serious attempt to lose tonnage, I am also doing salt water Aquafit. This is a 45-minute work out in a 91 degree therapy pool. So far, I am a fan. It is a great workout, and miracle of miracles, nothing hurts at all as I exercise. Sadly, 45 minutes flies by, I have to get out of the pool.
To keep myself away from the kitchen and the snacks that lurk there, I am spending a lot of time in my sewing room.
Recently, I rehabilitated another dress form, found at Value Village for less than $10. This one is going to be used to hang up my sewing scissors, seam ripper and retractable tape measure.
 In its former life, the dress form was dressed in leopard print velvet and red sequins. The effect was regrettable. I could see something better.
 I stripped the hideous fabric velvet fabric off the form and replaced it with some linen. I stamped an image on the front and then made a skirt from some green linen leaves. I used some tea dyed crocheted lace from an old pillow case to make the over skirt. The felt roses were just plain fun to do. I cut out a wavy circle of felt and then cut out a wavy spiral patten through to the centre of the circle. Then, I rolled up the spiral, starting at the centre, and secured the rolls using small dots of hot glue. This process proved kind of addictive, and before I knew it, I had made more than 15 roses! I used some pearls and a little charm to further embellish my notions holder.
The neckline sports not only a felt rose, but also some tiny millinery flowers and a crystal heart.
I was kind of sad when I finished this form, but I have many things to get ready for the upcoming CreativFestival in three weeks' time in Toronto. More on that later.
In the meantime, have a wonderful, creative week!