 |
| Old friends are the best table favours |
It has been a while since I've been to a wedding. And, June being the month of weddings, I thought I'd tell you about a recent event I attended.
After years of never going to weddings -- it is one of those occasions that passes through phases of life -- is it not?
First, it seems like all of your friends are getting married...
And, then, all of a sudden, you are planning your own wedding.
Many years pass...
Suddenly, all of your friends' kids are getting married!
Which is weird, since you are all still young yourselves.
My best friend -- from kindergarten onward -- is knee deep in preparation for her eldest daughter's wedding.
First up, we went to the bridal shower.
 |
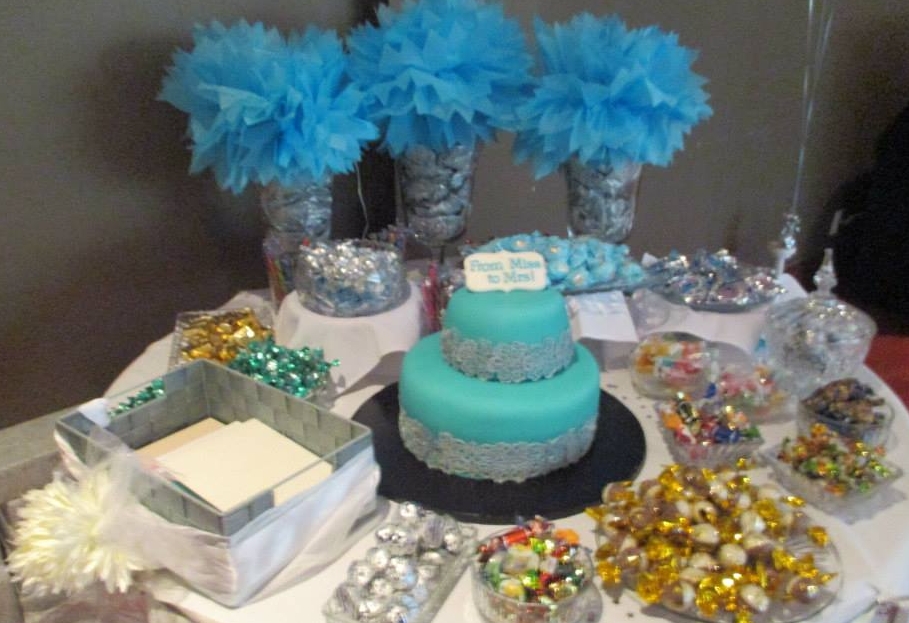
| The candy buffet and the cake! Pretty, fun, and yummy! |
|
It was a lovely event.
The colour scheme is one of my favourties: turquoise and pale grey -- all artfully pulled together with a simple centre piece -- a white hydrangea head in a square glass vase, filled with blue glass stones.
We played a trivia game (our table won), had a lovely buffet lunch. It was topped off by a candy buffet (treat bags and twist ties included), chocolate dipped strawberries, and the most delicious cake I've ever sampled. Made by the aunt of the groom, a true cake artist, it was finished with turquoise fondant and pale grey lace.
I liked the topper -- a little white chocolate plaque proclaiming: from Miss to Mrs. (the bride is a high school teacher).
Fun fact: one of the trivia game questions was which gaseous marine mammal is the bride's favourite? After much discussion, we picked dolphin. Wrong. It is the manatee. She just loves them.
I think I found a little wedding gift for her: one of my favourite artists,
Patience Brewster, has created an ornament honouring the lovely, yet gaseous, creature of the deep.
I am thinking wedding cake topper...why not? It is far more personal and interesting than the traditional bride and groom. She's got a ton of options for unique toppers, as well as many other
special, whimsical holiday and
Christmas ornaments. I've got quite a little collection of her things, including a cake server that stands on a little Christmas bauble with a face and feet. Oh yeah, she's my kind of gal!
When DH and I got married -- a million years ago -- I wanted bride and groom turtles to top our cake. Sadly, no one else did -- it just wasn't the "done" thing to make one's wedding personal. Glad those days are gone!
This thoroughly modern bride and groom will have their wedding is at the beginning of August at a simply elegant event centre that had been heritage barn. Now part of an agricultural museum, it features exposed wooden beams and tons rustic charm.
The couple have simple tastes and favour handmade touches. We've been invited to the wedding, so I can't wait to see what they come up with at the main event, since the shower was so very pretty.
As for me, I have purchased a sewing pattern to make myself a new outfit for the wedding. It has been years since I made myself clothes, but I like the pattern. It is Burda design for a sort of flowing top and simple Capri-style pants.
I bought some knit material for $3 a metre. I am going to practice the top before I get the silk /cotton blend fabric I want to use.
I'll keep you posted on the results. Fair warning, I might chicken out on the pants and wear ones I already have so I can just focus on the top.
The bride is lovely, so no one will notice what I am wearing -- as long as I don't mess it up. You just don't want people noticing you for the wrong reasons.


